How to Sand Wood Like a Pro? Know the Different Ways
For DIY enthusiasts, sanding is necessary when it comes to dealing with wood. Pretty much every DIYer knows how to sand, but most of them don’t know how to do the task more efficiently.
It’s even more critical for beginners as well. The beginners might have seen the way the wood is sand, but they lack practical knowledge regarding the matter.
This article will guide you to sand wood properly, and let you know pretty much everything you should know about sanding wood.
Let’s Know Ways of Sanding Your Wood
I’ll show you how to sand wood in different methods. But, first, let’s get familiar with the types of sanding. There are primarily two ways to sand wood:
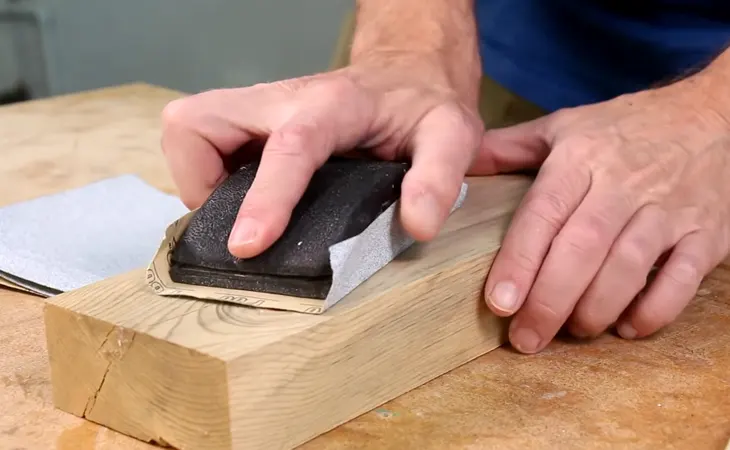
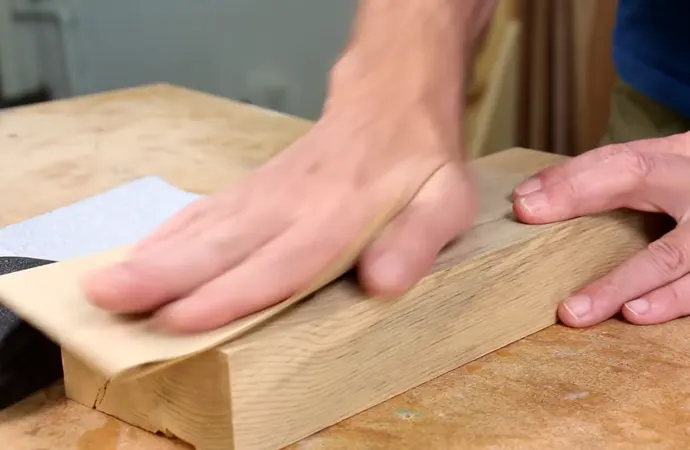
01. Sanding by Hand
This provides the most control over the wood surface. By manual sanding, you can sand corners and recesses that are difficult for a sanding machine to reach.
Even if you use a sanding machine to sand a piece of wood, still you will need to sand by your hand for best results on areas that the machine cannot reach.
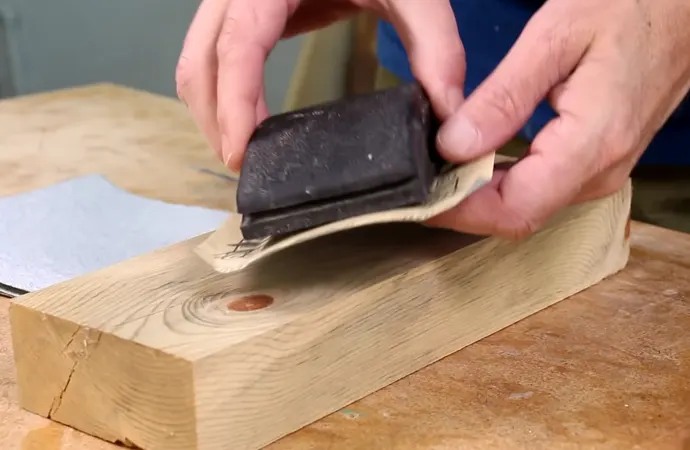
To get an even smoother surface, you can use a sanding block. It allows you to apply more pressure on the wood and doesn’t let the sandpaper slip or bunch.
Besides, using a rubber or foam profile sander makes it easier to achieve a sharp and professional look on the surface.
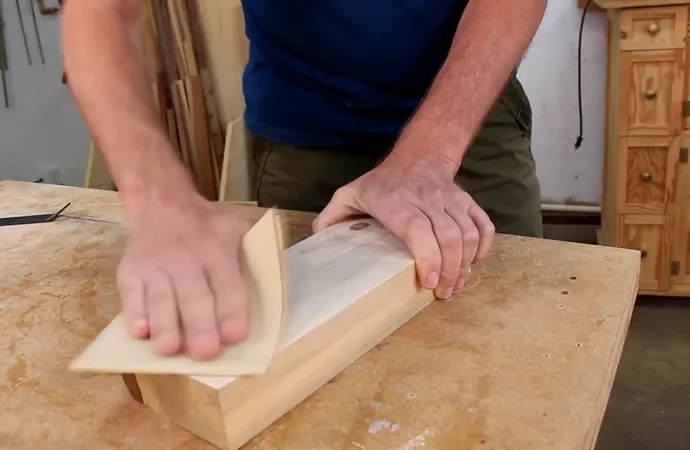
If you must sand through curves and form around the edge, use your hands instead of sanding the block to make a satisfying arc shape on the wood.
02. Sanding by Power Tools
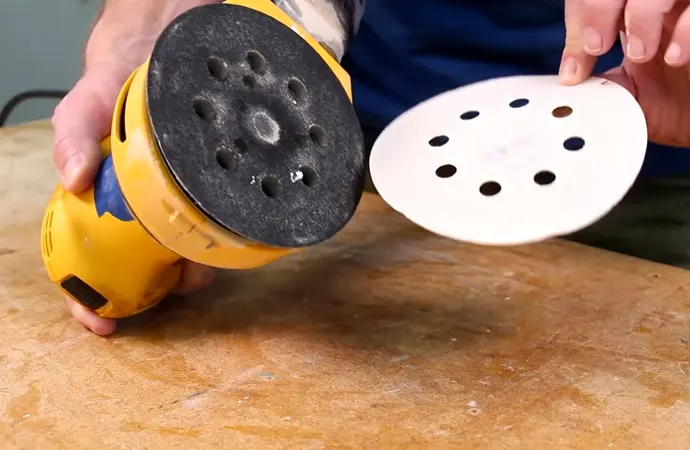
Using power tools is the most comfortable option. It saves a lot of time and effort. However, there are various types of sanding tools available in the market. Orbit sander and palm sander are one of the most popular ones among them.
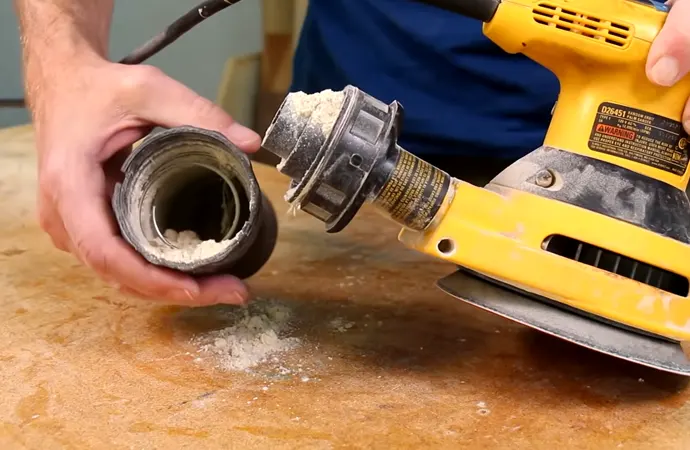
A sanding tool sands the wood quickly and makes the wood evenly smooth. One of the issues that you might come across is the sawdust that is produced while sanding. However, you can avoid facing it if you connect a shop vac to the sanding tool.
Now, let’s get introduced to different types of sanding tools so that you can figure out which one is more appropriate for your DIY project.
Orbital Sander
This sanding machine is the most widely used one. You will find an orbital sander in every woodshop. One of the significant benefits of using this sander is that it can eliminate scratch marks that are created by hand sanding.
Sheet sanding
This sanding machine uses a repeating pattern to move the sanding pad. This tool is adequate for most initial sanding tasks. The machine uses ¼ or ½ sheets of regular sandpaper, which makes it more economical than orbital sanders as they require specific sanding disks.
See Also: How to Start Tailoring Shop; A Beginner’s Guide
How To Start Sanding Wood Step by Step?
01. Choosing the Right Sandpaper
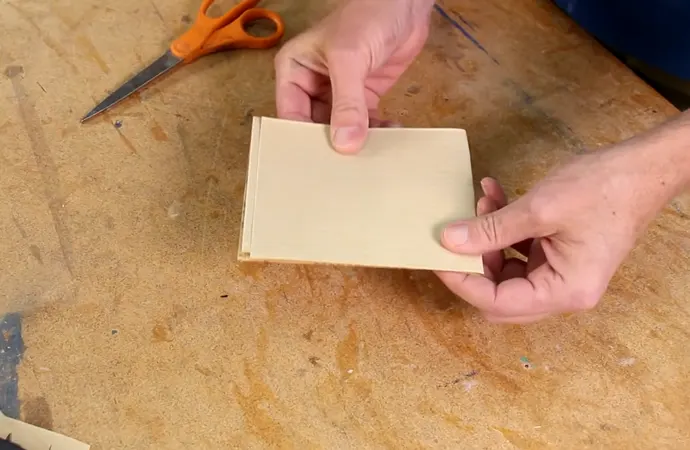
The first thing about sanding is selecting the correct sandpaper or sand disk suitable for your project. You might come across different types of sandpaper with a label of 80-grit, 120-grit, 200-grit, etc. The number and grit indicate the sanding granules per square inch of the paper.
A higher number means the sandpaper is of a more elegant grade and can perform finer and more delicate tasks. On the other hand, lower grade sandpapers are coarser type.
What to do for refinishing furniture and antiques?
For refinishing furniture and antiques, People generally use a medium to an excellent grade of sandpaper. Under 100-grit sandpaper can damage the finish of beautiful wood. 120-grit and 150-grit sandpapers are ideal for removing scratches and old finishes.
220-grit sandpaper is considered finer grit, and it is used for light sanding right before applying the stain.
02. Sanding Wood Using an Orbital Sander
If you prefer sanding wood using a machine, for most circumstances, an orbital sander will do the trick. You need to choose the sandpaper depending on the condition of the wood surface. Use 80-grit sandpaper if the surface is very rough, use 120-150-grit sandpaper for a smooth surface, and use 220-grit sandpaper to make the surface even more seamless.
Now, attach 80-grit sandpaper to the orbital sander to sand the rough woody surface. Remove the sawdust from the wood using a cloth or compressed air.
Some roughness left
There will be some roughness left by the 80-grit sandpaper. Therefore, the next objective is to sand away that roughness by 120-grit sandpaper. It will not take too long as the previous sandpaper. You will be able to feel the smoothness of the surface when it’s done. Remove the sawdust when sanding is finished.
Again, attach 180-grit sandpaper to the tool and start sanding. It will make the surface even smoother. You will feel the noticeable difference in the wood.
Get some finish or stain on the wood
After achieving such a level of smoothness, Your wood is ready to get some finish or stain on it. Although power sanders save time and effort, they have disadvantages as well. Power sander leaves curly marks on the surface, and you will not be able to notice the marks until it’s time for applying the final finish.
See Also: How to Make Fabric Waterproof? 5 Easy Methods are Explained
Avoid Curly Marks Created from Power Sanders?
One drawback of using power sanders is, they can create curly marks on the surface which are nearly impossible to detect while sanding. This can cause you to re-sand the entire project and re-apply the finish on it.
Follow the instructions below to eliminate these curly marks:
- After sanding with a power sander with 80 or 120-grit sandpaper, further, sand the surface using an 80-grit with your hand. Make sure you only sand with the direction of the wood. When you are done, then use regular sandpaper and a sanding block, and then sand with the grain.
- If you sand the surface with 120 or 180-grit, shine a flashlight on the surface at various low angles to identify curly marks. Use mineral spirits to make the grain dark to be able to detect the marks easily. Also, sand the marks out by hand if you see any.
How to Sand Wood by Hands?
Using hands to sand wood requires different equipment. You can sand using a flat sanding block and a quarter-sheet power sander. Both have a field of expertise with pros and cons.
If your wood surface has curves, softening corners, and edges, you can go without using a sanding block. But when you deal with flat surfaces, make sure you use a sanding block, which is available in local hardware stores.
Be sure to attach a soft layer like the corkboard to the sanding block’s face. It’s not necessary, but helpful.
Now, onto the sanding.
Get a flat block and hold it against your sanding block. The flat block should be opposite the wood surface. The sanding block needs to face the edge of the wood. Furthermore, sand back and forth in the direction of the wood grain.
Sanding across the grain will result in sanding marks at the end, and you will need to remove the marks using 80-grit sandpaper and further sand using finer sandpaper to smoothen the surface.
See Also: Screen Printing on Plastic Bags: How to Do Correctly at Home?
How to Sand Rougher Wood?
When it’s about sanding more rough wood, it’s pretty much the same. But it’s worth talking about some tips regarding it to make the process efficient.
Rougher wood requires coarser grit to start the process. Wood that has not been sanded before is more uneven than wood that has been through a sanding process previously. Using 80-grit sandpaper will bring good results in this case.
See Also: How To Use a Die Cutting Machine? Beginners Ultimate Guide
Pro Tips for Sanding by Hand
Using a power tool to sand will bring the best results. However, if you use some special tools with proper sandpaper and follow some pro tips, you can improve the sanding quality significantly even by using your hands.
The following tips that are given below will require:
- Sanding block
- Putty knife
- Sanding grips
- Rigid foam insulation
- Spray adhesive
- And of course, the sandpaper
Sandpaper
- Start using coarse sandpaper such as 80 or 100-grit.
- An 80-grit sandpaper is used for a surface that is plane and newly shaped. Whereas a 100-grit is used for an already smooth surface that has no deep scratches.
- Don’t use too coarser sandpaper if not required, or it will leave deep scratches on the surface.
- Use finer sandpaper later in the sanding process. Using finer grit sandpaper at the beginning requires forever to sand out the roughness.
- As you go through the grits, there will be fewer scratches on the surface.
- You may need to sand with 320 or 400-grit sandpaper if the wood has dense grain such as ebony wood.
- Recommended grit progressions of sandpapers for typical cases are 80-120-220 or 100-150-220.
Sanding Block
Using a sanding block makes the sanding process far more efficient. These are some effective tips to sand using a sanding block:
- Be sure to change the sandpaper when you see the sanding isn’t efficiently done.
- Always use a sanding block for sanding denser grain wood.
- Sand accordingly to the wood grain. Be more consistent regarding this matter when it’s about the final grit.
Foam Pipe Insulation
- Soft foam pipe makes a decent base for sandpaper, and it’s easier to reach difficult areas.
- Wrap the sandpaper of whatever grit around the foam pipe when it comes to medium-sized sand coves.
- Consider using foam swimming noodles scraps, to sand large concave surfaces.
- Stick sandpaper inside of the foam pipe to sand the wood of dowels and typical cylindrical shapes.
Contour Sanding Grip
- Sand molding profiles using a contour sanding grip.
- Wrap the sandpaper around the sanding grip that fits your profile and starts sanding.
- Using adhesive-backed sandpaper works excellently in such cases.
Putty Knife
- Sand using a putty knife with the grain into tight corners.
- Wrap adhesive-backed sandpaper around the putty knife and trim the paper flush to its edge.
Custom Block for Sanding on Complex Shapes
- A custom sanding block easily sands the surface of complex shapes.
- Take a custom block (two or three blocks) and glue progressively with finer grit sandpaper. If you use three blocks, then three different grit sandpapers; if you use two, it will be two sandpapers.
- Now, collect rigid foam insulation scraps or extruded polystyrene.
- Spray adhesive on the backside of the sandpaper and the molding. Use a putty knife to push the sandpaper into the recesses of it.
- Rub a rigid foam insulation block over the paper to make it conform to the molding profile.
- Spray adhesive on the foam block and sandpaper and stick them together to sand the molding profile.
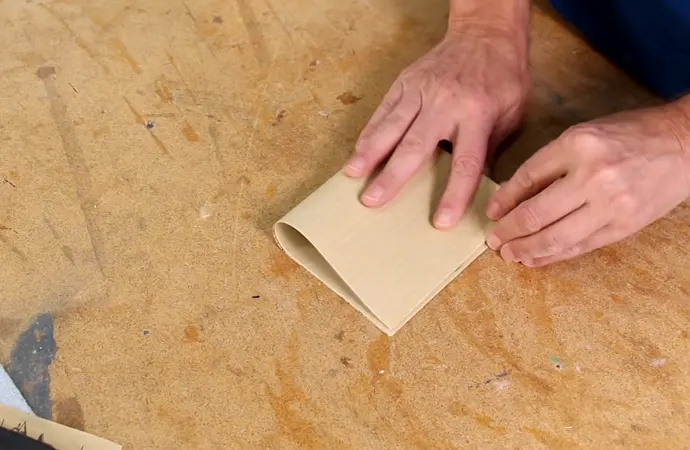
- If you see the custom block creates rounded-over edges on molding profiles, consider sanding these areas separately using small folded paper or a lower-sized square sanding block.
Top Questions About Sanding Woods
How much time need to complete the sanding process?
As the surface has not been sanded, The sanding process will take a long time to finish. You must make the surface flat. Using a power sander will do the work much faster, but you can use your hands as well. If you sand the wood with 120-grit sandpaper at first, there will be slight hills and uneven areas across the surface.
So, you will need to sand it further with 80-grit sandpaper, which will be more time-consuming and tiring. Therefore, you better start sanding with 80-grit sandpaper from the beginning even though it takes time.
When you are done sanding, you will find that the surface is flat and smooth to the touch. You need to check whether there are still any uneven areas or hills on the surface
How to sand low angle correctly?
To do that, Use a flashlight and hold it at a low angle, then check across the wood in different directions. Uneven and hilly areas will be identified easily. To eliminate those uneven areas easily, take a pencil, and draw lines in those areas.
Further sand across the board until you erase pencil lines by sanding. When the lines are gone, the surface is adequately sanded without any high areas.
How to remove the sawdust to avoid subtle pitfalls?
At this stage of sanding, remove the sawdust to avoid subtle pitfalls. Using compressed air, or vacuum, or a brush will do the trick here. To make the surface more appealing, be sure to remove dust using a tack cloth. Now, you can advance through various grits of sandpaper until you get the desired finish.
Depending on the application, some will end at 120 and some at 220-grit sandpaper. The process will not take long as before when you went through different grits. That’s because you have already flattened the surface using an 80-grit and even smoothen it using the pencil method.
You can use the pencil method for each grit sandpaper to get a more delicate finish. The pencil marks will get lighter as you proceed to the higher grits.
Final Words
Although sanding wood seems quite an easy task, it’s challenging to get the utmost smoothness on the wood if you don’t know or follow pro tips and techniques.
If you previously failed to sand any wood perfectly, this guide will surely help you to get your desired smooth surface.
