How To Blue A Gun At Home? Step By Step DIY Guideline
If you have invested money in a gun, it is logical that you want to protect that investment. And that can take the form of bluing the gun to minimize the odds of it rusting.
What does it mean to blue a gun? How do you blue a gun? And what do you do if you want to know how to blue a gun at home?
What Does It Mean to Blue a Gun?
Bluing is a controlled rust process. It turns the metal blue-black, hence the name. Bluing the metal won’t prevent all rust, but it won’t rust as fast as bare metal.
Bluing the gun darkens the metal and removes its shine. This will depend on the process, since some bluing methods can result in a beautiful finish on the metal while others leave a dull, dark black finish.
This makes bluing the gun a better choice if you want the gun to be almost invisible. This is why bluing of guns is a better choice for hunting weapons or military grade weapons
So Why Are We Waiting for? Let's Get Started Discussing How to Blue a Gun at Home
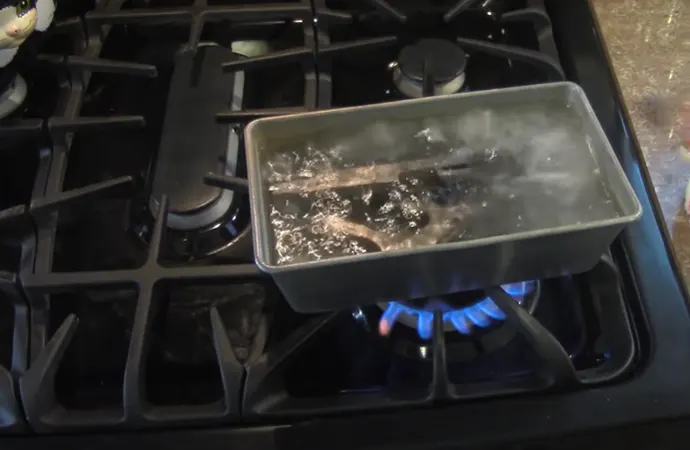
Bluing a gun is an electromechanical process. There are a number of ways you can blue a gun. And you could theoretically do it at home. Cold bluing generally uses selenium dioxide, while hot bluing may use potassium nitrate or other “caustic black” mixtures.
It is generally done in a hot salt bath, though if you get the temperature wrong, the steel comes out looking like it is rusted instead of having the protective blue layer.
Blue” guns in a furnace
You can even “blue” guns in a furnace. Either way, you’re turning the iron into magnetite, a black oxide. Let’s learn how to blue a gun at home. In fact, we’ll cover several different methods.
#1 Method: The Nitre Blue Hot Bluing Process
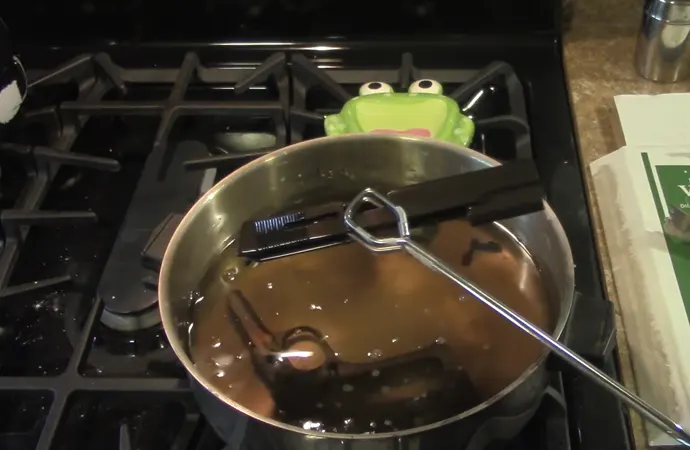
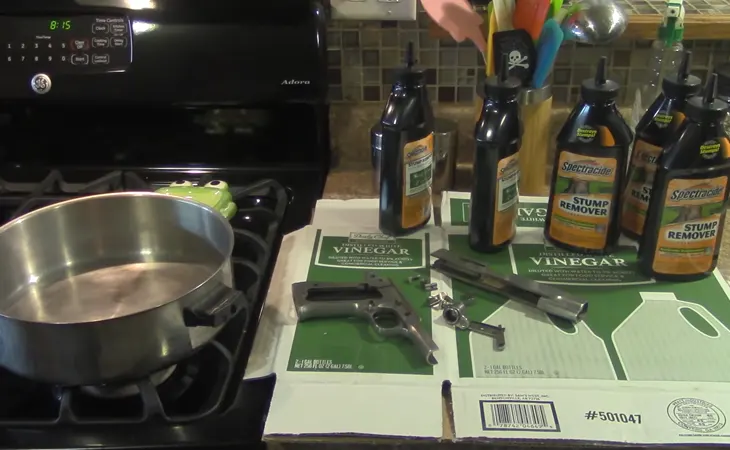
"The Nitre Blue Hot Bluing Process" You can do in your kitchen. This process is hot, so you’ll need to take the appropriate precautions not to get splashed with hot liquids. You’ll need tongs, because you don’t want to touch a hot piece of metal or get finger prints on the metal you’re trying to finish. What else do you need?
Materials:
Step 1: Strip and clean the gun.
Take it apart. Thoroughly clean it. You need to remove all grease and dust from the surface if you want the bluing to take effect there. You also need to remove all parts you don’t want blued.
For example, you should remove all the springs. This is still a good time to clean them, though. Remove any parts you don’t want to be blued.
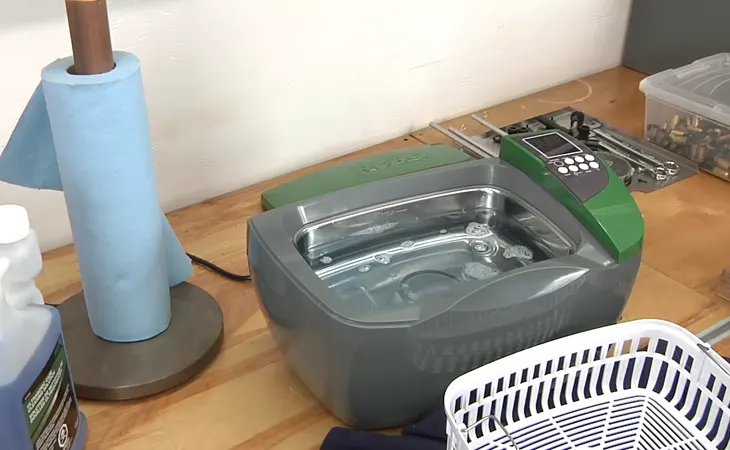
Unlike other gun cleaning sessions, you shouldn’t oil anything. If you can’t get oil off the parts, run it through a sonic cleaner with degreaser.
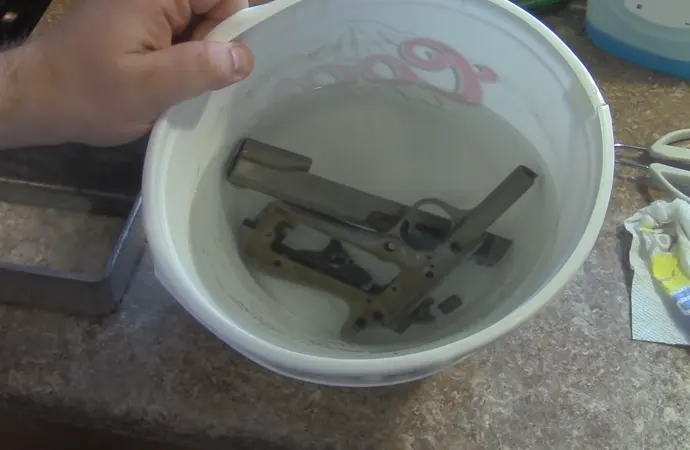
Step 2: Soak the parts to be blued in vinegar.
Mix the white vinegar in tap water. This will be a 50-50 mix. Anything you want blued should be soaked in this mixture for at least ninety minutes. This will remove the old blue.
All the other parts should just be set aside for when you eventually reassemble the gun.
Step 3: Prepare the bluing mixture.
Get a pot and start boiling the water. Once it is hot, boil the parts to be blued in that mixture. If you don’t do this, the bluing process will result in a poor finish.
That’s because boiling turns red rust into black rust. They’ll need to be boiled for 20 minutes to get this chemical conversion.
Step 4: Prep the metal.
Rub down the pistol with 600 grit sandpaper. For guns with a lot of pitting, you may need 180 grit sandpaper to get the pits out.
In some cases, you’ll want to buff it. Any metal you see when you’re done is what will get blued.
Step 5: Melt the nitre solution.
The first step to this process is to protect yourself from accidental contact with molten salt. Wear long sleeves, gloves, safety glasses, and a protective apron.
Wear protective shoes, if you have them. Cover all skin so that the fumes don’t irritate it. You may want to wear a face mask.
Suppose you’re wearing all the right safety gear. This step is what the Spectracide Stump Remover is for. That is essentially powered salt peter.
It will take a long time to melt, because it melts once things are at 400 degrees Fahrenheit.
Step 6: Blue the metal parts.
Get your tongs ready. Make sure the parts are completely dry from the prior boiling, because any water that touches the hot molten salt will boil instantly. That could cause burns.
Put your metal parts in the molten mixture. Space them out so that the liquid mixture can reach them. It is allright to let the parts lay on the bottom of the container. Swirl the mixture with the tongs to get it into every little crevice.
Must focus on the right temp
Keep the mixture at the 400 degree temp so that it doesn’t cool and harden on the tongs or even glue the tongs to the metal.
After five minutes, the salts will start to solidify on the metal pieces. The metal will warm up to the same temperature as the mixture. You’ll know it is at temp when it stops bubbling.
What is the Next?
During this time, you’ll want to pick up, dunk and turn over the parts to get an even temperature profile and even coverage with the salts. The color and depth of color will depend on how long you leave it in.
Once the parts are up to the same temperature as the salts, it will take about 30 minutes sitting in this mixture to “blue” them.
This is a good time to get ready to cool the gun parts. Have a pot ready with cool tap water.
Step 7: Cool the gun parts.
Use the tongs to remove a gun part from the hot salt solution. Rinse it in cool tap water. This will help to remove the salt residue. After it is cooled off in a container of cool water, rinse it off under the faucet.
Move the tongs so that you can get all of the salt off. The water will dissolve all the salt deposits. Once the part is clean, leave them in a quench tub.
Clean the tongs, then dry them quickly by putting them against a flame for three seconds so that they are dry before you repeat the process with the next gun part.
Step 8: Rinse the parts with WD-40.
The WD in WD-40 stands for water displacing. Use the cleaned tongs to take a part out of the quench tub. Rinse again with water to remove all traces of salt.
Then douse it with WD-40 to remove all the water. Then let the parts sit coated in WD-40 for an hour, though it can be longer.
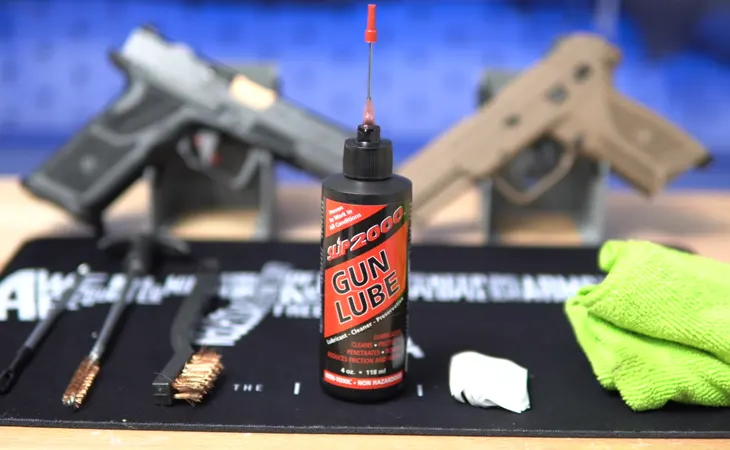
After that, you can wipe off the WD-40. Then you can oil the blued gun with your favorite gun oil.
#2 Method: The Cold Bluing Gun Process
If you’re researching how to blue a gun at home, the idea of dealing with hot molten salts or boiling acids may be daunting. That’s why we’re going to outline a “cold” process for bluing your gun.
This process requires a liquid bluing solution containing selenium dioxide or a similar compound.
Fortunately, you don't need anything else except cotton swabs, gun oil, and other standard gun cleaning supplies.
Step 1: Clean the gun.
Clean the gun the way we described in the hot bluing process. Remove grime, dirt, oil, and pits. If you only want to touch up the existing bluing on the gun, apply cleaning oil where you want the cold bluing process to remove the existing blue layer.
You can remove the cleaning oil itself using acetone on cotton balls.
Step 2: Gently heat the gun.
You can do this by heating the gun metal putting it in the oven at 200 degrees or heating up the gun with a blow dryer. This will help the metal absorb the bluing agent better.
It just isn’t as hot as the hot process.
Step 3: Apply the bluing solution.
Use cotton swabs to apply the bluing solution to a single worn spot. You can use an old T-shirt or toothbrush for a large area. You can soak small parts like screws in the bluing solution.
You could even spray it onto various parts of the metal. Just don’t soak the barrel of the gun. After you apply the bluing solution, smooth it out with steel wool. That prevents the bluing from looking mottled.
Don’t touch it with your hands, because finger prints will smudge the metal. You may need to apply another layer of solution to get the level of bluing you want. You should use fresh steel wool to smooth it out.
Step 4: “Season” the gun with gun oil.
Once you have the desired level of bluing, apply a layer of gun oil. However, you don’t want to apply cleaning oil at this step or you’ll remove the bluing.
Use a cotton ball to clean off the gun oil. Apply a new layer of gun oil every three to four hours. This will need to be done several times.
Summary
You can hot blue or cold blue your gun at home. Why did we recommend hot bluing first? Because cold bluing often requires removal of the uneven de facto paint job and reapplication, whereas a hot chemical bath tends to result in a more even finish.
But the cold bluing method can be used by anyone, and it can be done to touch up a gun that doesn’t require a whole new coat of “blue”.
